Optimal Timing for Clawfoot Tub Repairs

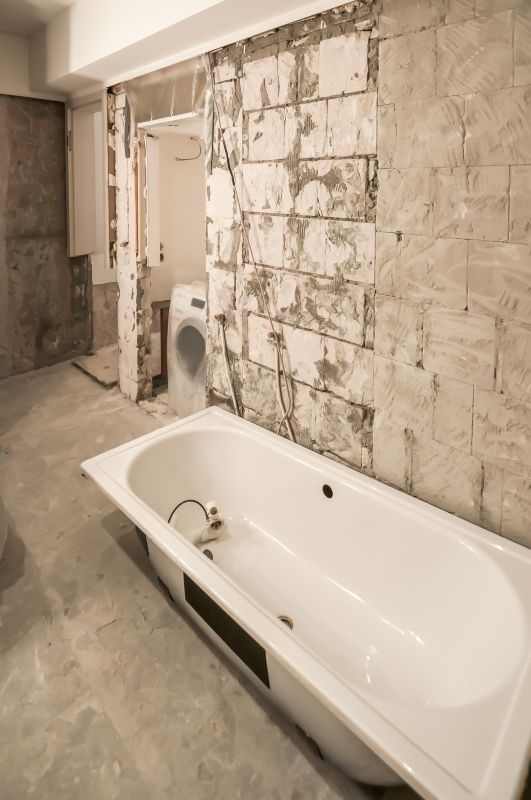
Images depict the process of restoring vintage clawfoot tubs, highlighting repair and refinishing techniques.

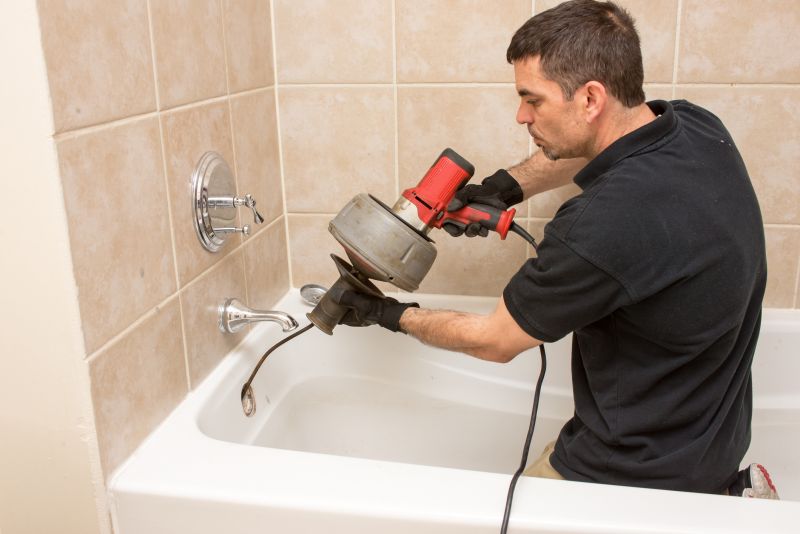
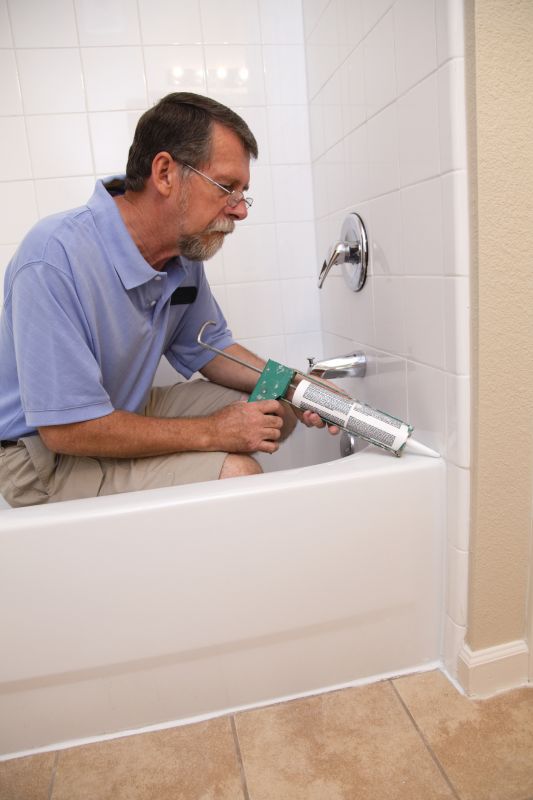
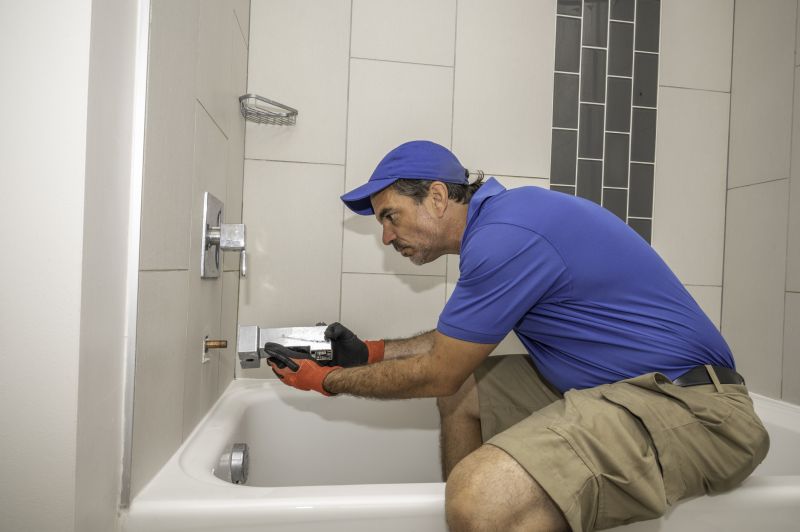
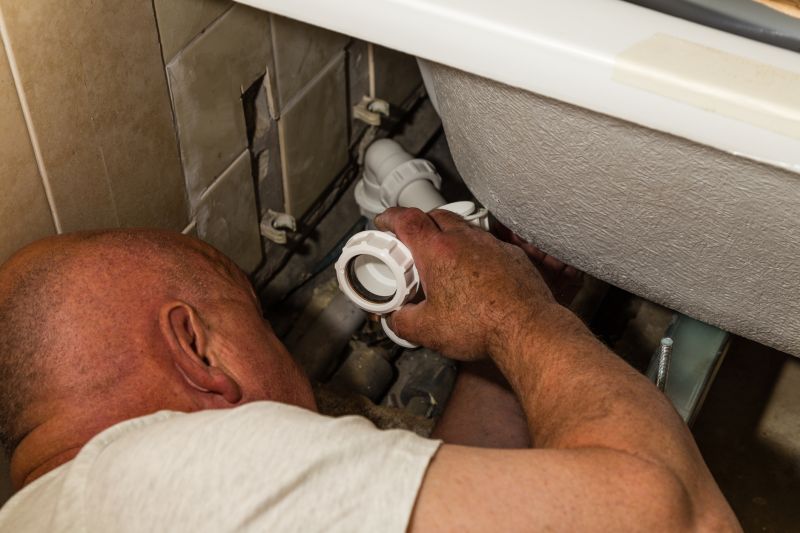
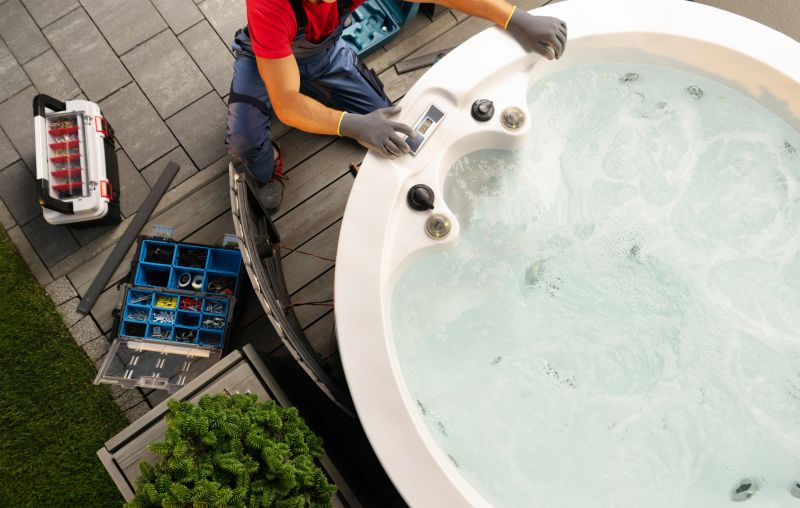
Photos show technicians working on tubs, addressing cracks, chips, and corrosion issues.
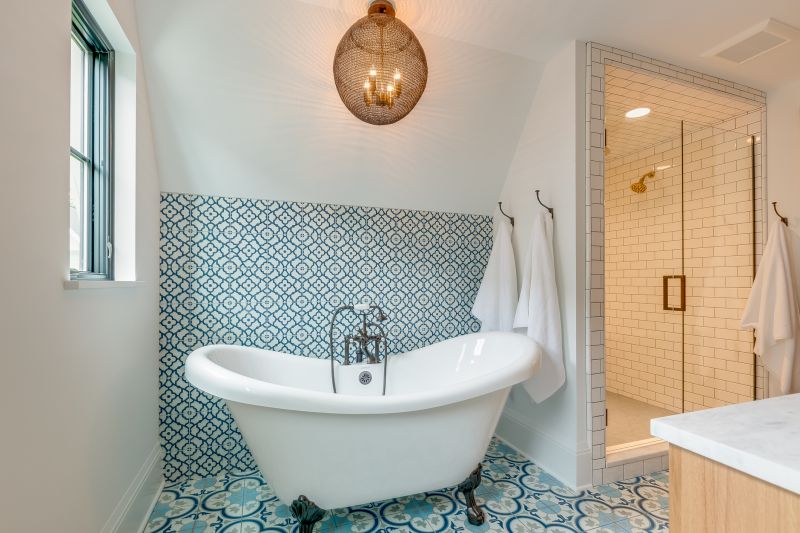
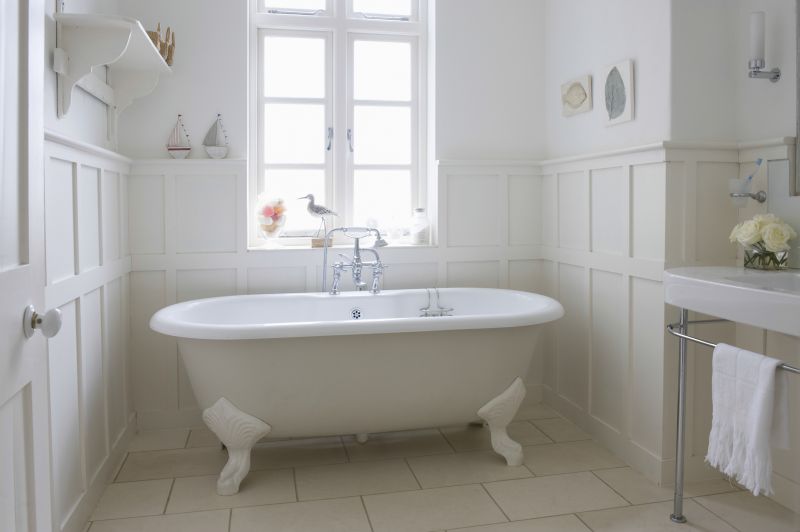
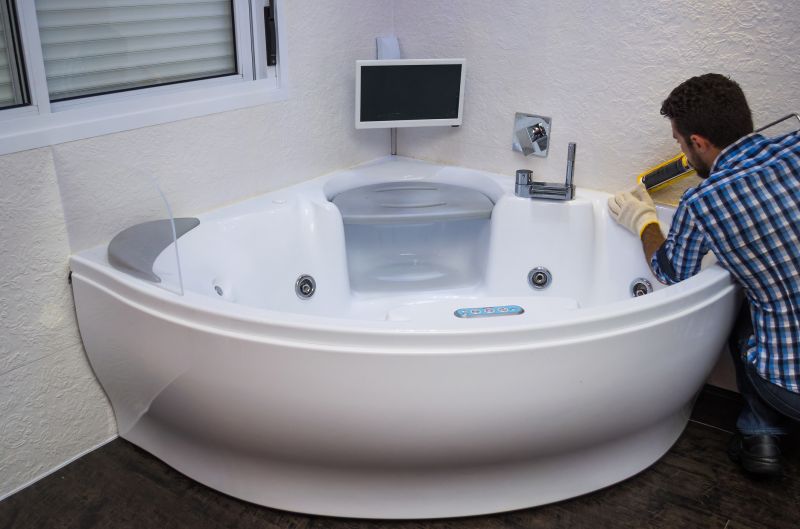
Completed repairs and refinished tubs ready for installation or use.
Ways to make Clawfoot Tub Repairs work in tight or awkward layouts.
Popular materials for Clawfoot Tub Repairs and why they hold up over time.

Simple add-ons that improve Clawfoot Tub Repairs without blowing the budget.
High-end options that actually feel worth it for Clawfoot Tub Repairs.

Finishes and colors that play nicely with Clawfoot Tub Repairs.
Clawfoot tub repairs are best scheduled during periods of moderate indoor humidity and stable temperatures to ensure proper curing of finishes and adhesives. Typically, late spring and early fall offer optimal conditions for repairs, as extreme heat or cold can affect materials and drying times. Proper timing helps prevent issues such as warping, cracking, or improper adhesion, extending the lifespan of the repair work.
Repair work should be performed when indoor conditions are stable, avoiding high humidity or temperature fluctuations.
Planning repairs during mild weather windows minimizes delays and improves outcomes.
Optimal conditions ensure proper curing of paint, epoxy, and sealants, enhancing durability.
Regular inspections can identify issues early, allowing repairs to be scheduled at suitable times.

Close-up of crack filling and sealing on a clawfoot tub.

Applying new enamel coating for a smooth finish.
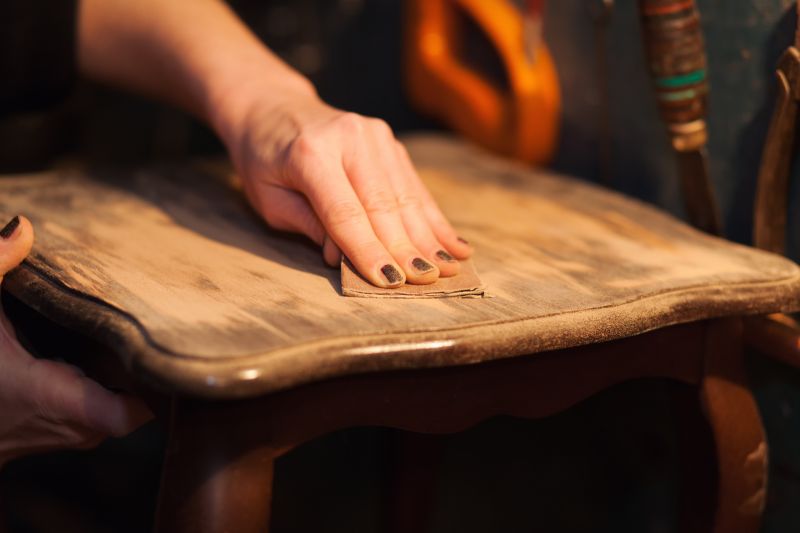
Sanding and cleaning prior to repair application.
Checking repaired areas for quality and uniformity.

Little measurements that prevent headaches on Clawfoot Tub Repairs day.
A 60-second routine that keeps Clawfoot Tub Repairs looking new.
A frequent mistake in Clawfoot Tub Repairs and how to dodge it.
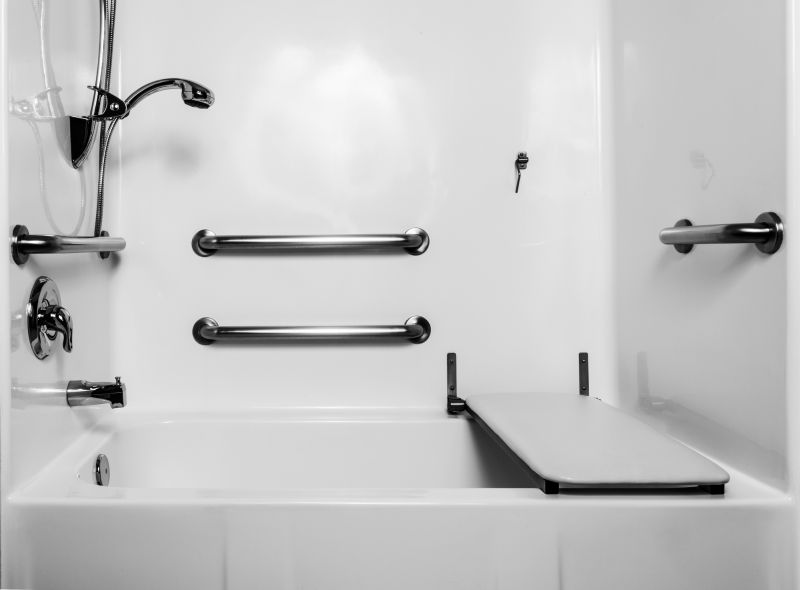
Small tweaks to make Clawfoot Tub Repairs safer and easier to use.
| Ideal Repair Season | Key Considerations |
|---|---|
| Spring | Moderate temperatures and low humidity support curing processes. |
| Fall | Stable weather conditions help avoid delays and environmental impacts. |
| Avoid Winter | Cold temperatures can hinder drying and adhesion. |
| Avoid Summer | High humidity and heat may cause defects in finishes. |
| Late Summer/Early Fall | Transition periods with favorable indoor conditions. |
Clawfoot tub repairs involve multiple steps, including surface assessment, crack or chip filling, refinishing, and sealing. The process requires attention to detail and proper environmental conditions to ensure a durable, long-lasting result. High-quality materials and techniques contribute to restoring the aesthetic and functional qualities of vintage tubs, which are often valued for their craftsmanship and historical significance.
A beautifully restored vintage tub with a glossy finish.
Components used for crack filling and refinishing.

Cleaning and sanding before applying repairs.
Polishing and detailing after repairs are complete.

The short, realistic tool list for quality Clawfoot Tub Repairs.
Rough timing from prep to clean-up for Clawfoot Tub Repairs.
Quick checks and paperwork to keep after Clawfoot Tub Repairs.

Examples that show the impact a good Clawfoot Tub Repairs can make.
Interested in restoring a clawfoot tub? Filling out the contact form can facilitate scheduling repairs at optimal times, ensuring the work is completed under ideal environmental conditions for lasting results.